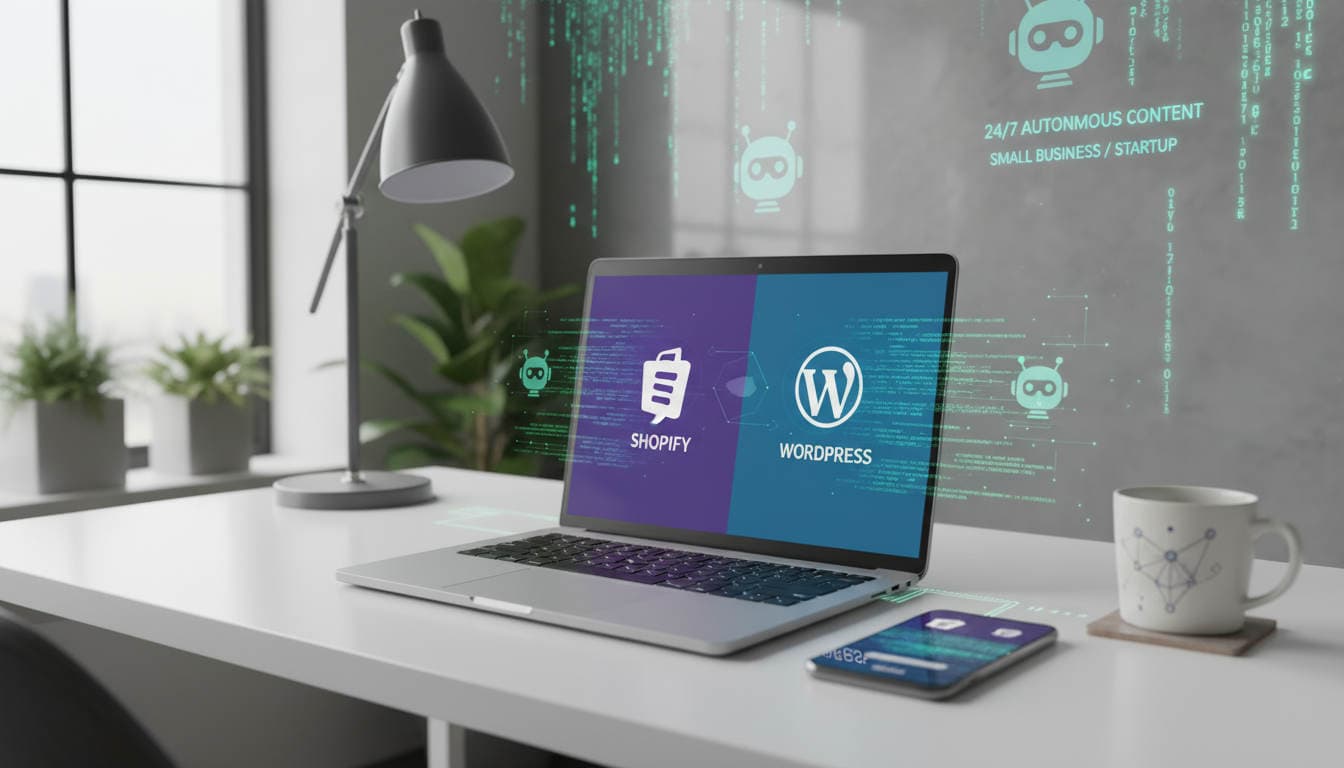
AI Agent Setup: Shopify & WordPress Quick Start
Set up an AI content agent in five minutes on Shopify or WordPress. No coding required. Follow our step-by-step guide to start 24/7 autonomous blog publishing.
Why AI Content Agents Matter for Your Online Store
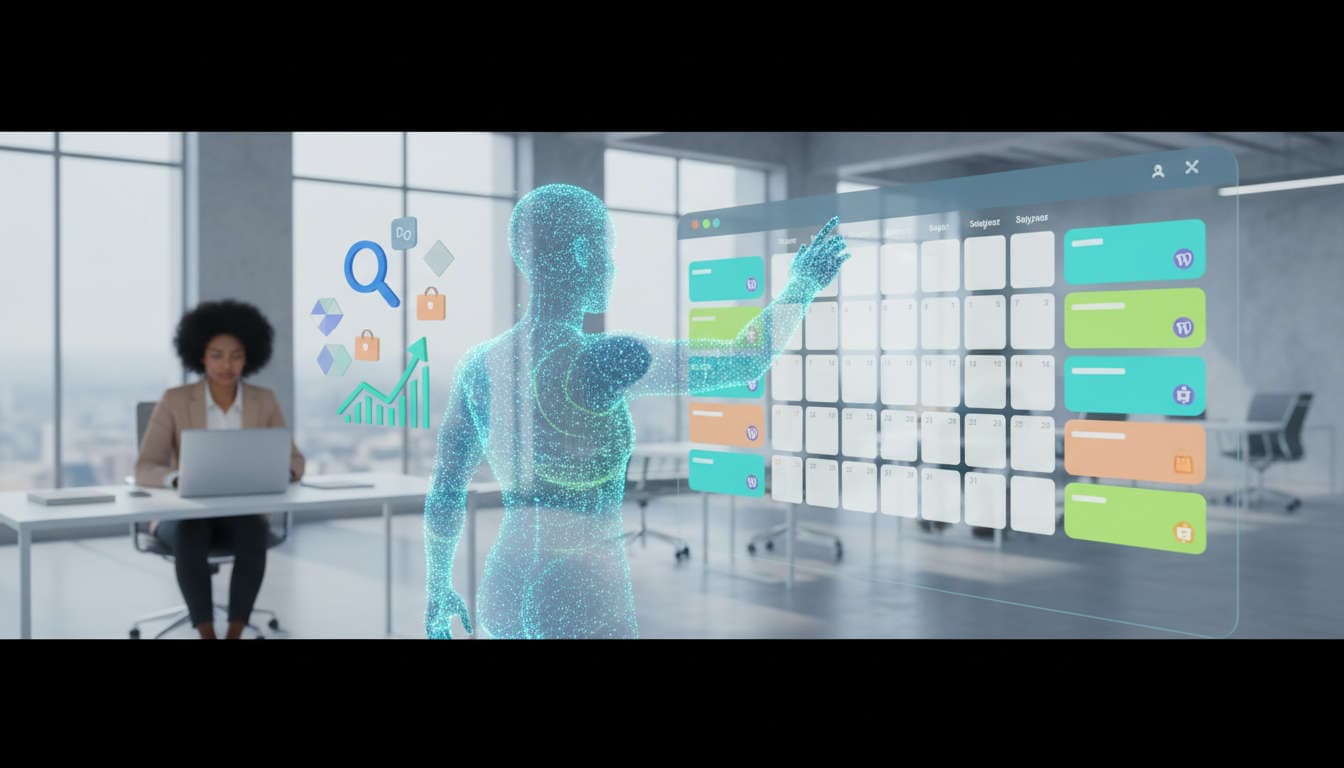
Small business owners and startups face an inescapable challenge: creating consistent, high-quality content whilst managing limited budgets and team capacity. Consequently, many abandon content marketing altogether, missing significant SEO and customer engagement opportunities. However, AI content agents fundamentally transform this equation by functioning as virtual employees that work 24/7 without salary, breaks, or burnout. These intelligent systems autonomously produce 100+ tasks daily, handling everything from keyword research to complete blog publication – all for just £20 monthly.
Consider the traditional cost structure: hiring a full-time content creator typically costs £25,000–£40,000 annually, plus benefits and management overhead. Furthermore, the AI agent approach compresses these costs dramatically whilst dramatically increasing output. Moreover, AI agents operate without human limitations, generating consistent daily content that compounds your SEO visibility month after month. Your competitors gain competitive advantage through this velocity of publishing, whilst you maintain proportional headcount. Significantly, these autonomous agents research competitors, identify content gaps, and discover high-intent keywords without your manual intervention.
The integration with WordPress and Shopify removes technical barriers entirely, meaning any business owner – regardless of technical expertise – can deploy this capability immediately. Additionally, the AI learns your business, understands your products or services, and creates content that genuinely resonates with your target audience. Consequently, you’re not just publishing content; you’re publishing strategically optimised, relevant content at scale.
Prerequisites and Platform Preparation Before Installation
Before installing your AI content agent, you’ll need minimal preparation, yet having everything organised ensures smooth setup. First, ensure you have active admin access to either your Shopify store or WordPress site. Secondly, familiarise yourself with your platform’s app or plugin installation location – this foundational knowledge makes the process seamless. Furthermore, review your store credentials and understand your platform’s permission structure.
For Shopify users, verify you can access your admin dashboard and navigate to the Apps section. Additionally, confirm you have authority to install third-party applications. For WordPress users, confirm you can access your admin dashboard and the Plugins section. Moreover, check whether your hosting provider supports plugin installation – most modern hosts do without additional configuration.
Create a simple checklist before proceeding: active admin account access, familiarity with your app/plugin directory, five uninterrupted minutes, and a clear understanding of your main business keywords or product categories. Consequently, when you begin installation, you’ll move through each step confidently without hesitation.
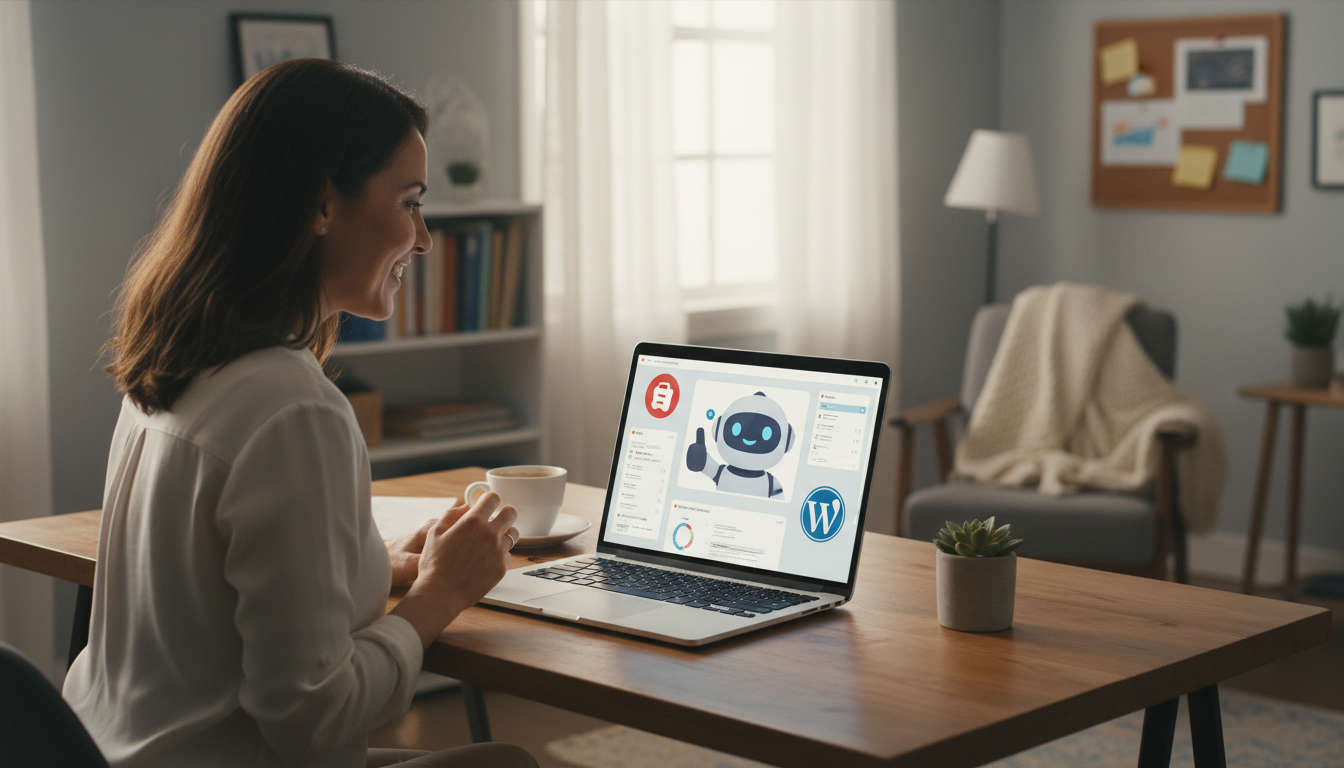
Installing Your AI Content Agent on Shopify in Under Five Minutes
Setting up your no-code AI agent onboarding on Shopify is remarkably straightforward, requiring only admin access and basic navigation skills. First, log into your Shopify admin dashboard using your credentials. Next, locate the “Apps and sales channels” section in the left sidebar and click it. Furthermore, select “App and sales channels store” to access the marketplace.
In the search bar, type “Agents24x7” or search for AI content agent solutions. Review the app details, including ratings, reviews, and required permissions – transparency here builds confidence. Additionally, examine the pricing structure and feature list to confirm alignment with your needs. Once satisfied, click the “Add app” button and authorise the necessary permissions. Consequently, the app dashboard appears directly in your Shopify admin, ready for configuration.
The entire process typically takes between three and five minutes from start to finish. Moreover, no coding knowledge is required whatsoever; you’re simply clicking buttons and reviewing information. After installation, the AI agent automatically connects to your Shopify store data, accessing product information, inventory details, and business context. Significantly, this integration means the AI understands your offerings intimately and creates relevant, targeted content from day one. Visit the Shopify App Store to install Agents24x7 and begin immediately.
Setting Up Your AI Agent on WordPress in Under Five Minutes
WordPress users benefit from equally simple setup, with no coding required whatsoever. Firstly, log into your WordPress admin dashboard using your credentials. Subsequently, navigate to “Plugins” in the left sidebar and click “Add New.” Furthermore, in the search bar, search for “Agents24x7” or look for the official AI agent plugin.
Review the plugin details, ratings, and compatibility information to ensure it aligns with your WordPress version and hosting environment. Additionally, read the description thoroughly to understand what features are included. Once confirmed, click “Install Now,” followed by the “Activate” button. Consequently, the plugin appears in your WordPress dashboard immediately, ready for initial setup and configuration.
Similar to Shopify installation, this process takes approximately three to five minutes and requires zero technical expertise. Moreover, WordPress handles all backend processes automatically; you’re simply authorising installation and activation. After activation, the AI agent automatically analyses your WordPress site structure, existing content, and post history. Significantly, this analysis helps the agent understand your content style, audience voice, and niche focus, enabling more personalised content creation. Access the WordPress plugin directory to install Agents24x7 today.
Conducting Your First Keyword Research and Store Connection
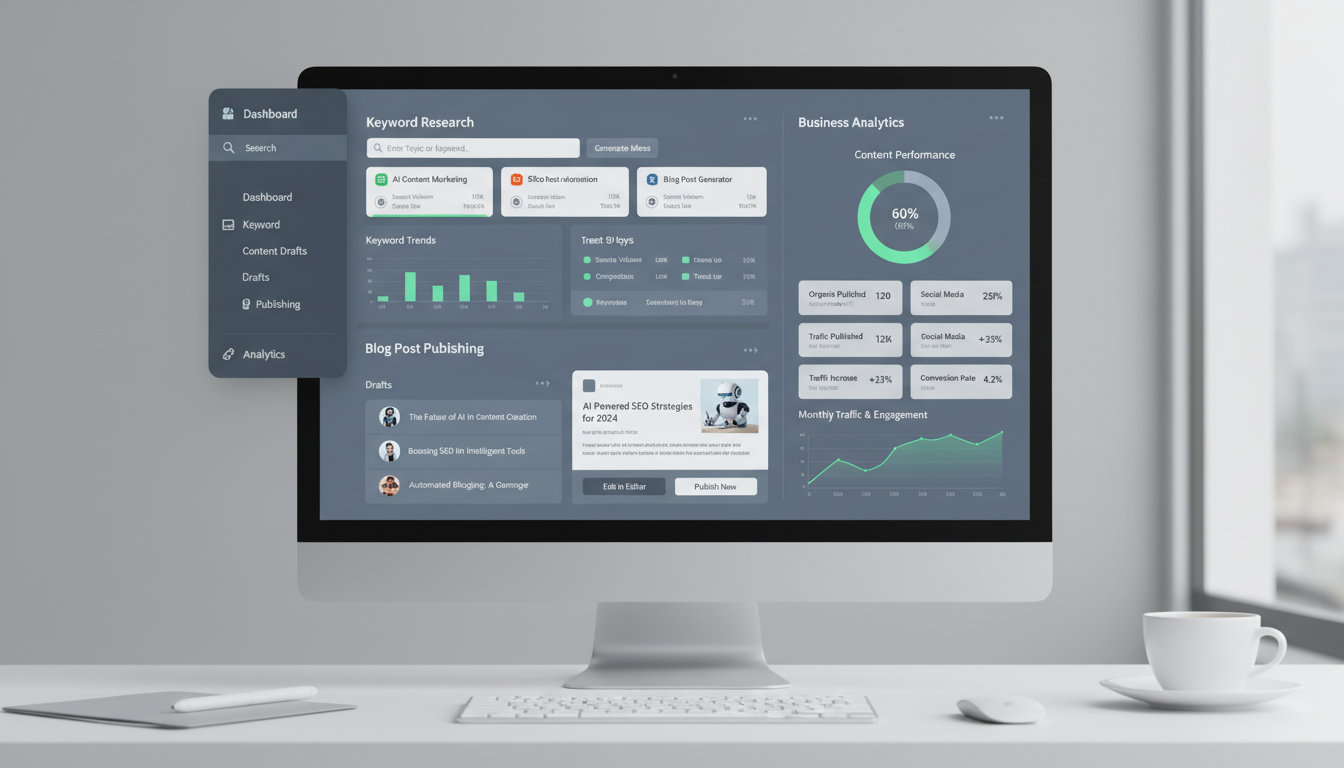
With installation complete, your next step involves AI agent configuration and keyword research automation. Access the agent’s dashboard from your Shopify or WordPress admin and navigate to the “Keyword Research” or “Content Strategy” section. Furthermore, input your primary business keywords, product categories, or industry focus areas. Consequently, the AI begins analysing search volume, competition levels, and user intent for thousands of related keywords.
The agent then connects to your store’s product data or inventory system, developing a comprehensive understanding of your offerings. Moreover, it researches competitor websites, identifies content gaps in your niche, and prioritises keywords with high commercial intent. Additionally, the AI clusters related keywords together, creating topical hierarchies that inform content creation strategy. This keyword research automation eliminates the tedious manual work previously requiring hours of research tools and spreadsheet management.
For example, if you sell eco-friendly home products, the AI might discover keyword clusters around “sustainable household items,” “eco-friendly cleaning products,” and “zero-waste home living.” Furthermore, it identifies secondary keywords like “plastic-free kitchenware,” “biodegradable trash bags,” and “sustainable home office solutions.” Significantly, this foundational research typically takes just a few minutes and sets your AI agent up for success in creating genuinely relevant, high-converting content that attracts qualified traffic.
Publishing Your First SEO-Optimised Blog Post Automatically
With keyword research complete, your AI agent is ready to create and publish its first SEO-optimised blog post entirely autonomously. Access your agent’s dashboard and locate the “Generate” or “Publish” button, or configure an automatic daily publishing schedule. Consequently, the AI springs into action, synthesising your keyword research, competitor analysis, and store data to craft a complete, publication-ready blog post.
Behind the scenes, the AI intelligently optimises content for primary and secondary keywords without keyword stuffing or awkward phrasing. Furthermore, it creates compelling headlines that capture search intent whilst intriguing potential readers. Additionally, the agent structures content with proper heading hierarchies (H2s, H3s, and so forth), ensuring both search engines and humans find content easy to navigate. The AI includes strategic internal linking opportunities, relevant meta descriptions, alt text for images, and mobile-friendly formatting – all the technical SEO elements that boost rankings.
After content generation, the AI automatically publishes your post to your blog, where it appears live immediately. Moreover, you can monitor its performance through your platform’s built-in analytics and track metrics like impressions, clicks, and reader engagement. For deeper insights into SEO strategy, review how to use AI for SEO to boost your traffic, which explains comprehensive approaches to maximising search visibility through AI-powered content strategies. Significantly, once published, this first post becomes the foundation for your AI agent’s ongoing 100+ daily task capability, with subsequent posts building upon this initial success continuously.
Configuring Your Agent for Maximum Performance and Customisation
Optimising your AI agent configuration ensures maximum performance aligned with your business goals. Access your agent’s settings dashboard and explore brand voice customisation options, which allow you to define the tone, style, and personality of generated content. Furthermore, set your preferred publishing schedule – whether daily, multiple times weekly, or custom frequencies that match your content strategy. Consequently, the AI agent aligns its output rhythm with your marketing calendar and audience expectations.
Additionally, configure content categories and topic prioritisation so the agent focuses on business areas most relevant to your growth objectives. For instance, if you operate an ecommerce store selling athletic wear, prioritise keywords around “running shoes,” “fitness apparel,” and “athletic performance” rather than general lifestyle topics. Moreover, connect the agent to your analytics platforms for performance tracking and continuous improvement insights. Furthermore, specify target audience demographics, preferred content length, keyword density targets, and SEO parameters that align with your technical requirements.
Importantly, all AI agent configuration happens through intuitive dashboard toggles and input fields requiring absolutely no coding or technical expertise whatsoever. Additionally, test your configured agent with a single post before enabling full automation – this verification ensures everything aligns with your expectations. Learn more about optimising your content approach by exploring how to automate SEO content calendar planning, which demonstrates how consistent scheduling compounds your content marketing results over time. Significantly, customisation is entirely optional; the agent works effectively with default settings for users preferring simplicity.
Monitoring Results and Scaling Your Content Operations
After your AI agent publishes consistently for several weeks, monitoring performance becomes essential for optimisation and scaling. Access your performance dashboard to review publication dates, content topics, keyword targeting, and engagement metrics. Furthermore, track key performance indicators including organic blog traffic, search engine rankings, click-through rates, user session duration, and conversion rates. Consequently, you develop concrete data about which content resonates most with your audience and drives measurable business results.
The AI learns from this performance data continuously, improving content quality and strategic direction month after month. Moreover, gradually expand the agent’s responsibilities by adding new product categories, business areas, or content verticals. Additionally, experiment with different content strategies and let the AI test variations autonomously, identifying winning approaches through data-driven iteration. For enhanced internal linking strategy, discover how to automate internal linking with AI for SEO, which amplifies your site authority and improves search rankings significantly.
Understand content velocity: consistent daily posting compounds SEO benefits exponentially over weeks and months, not linearly. Consequently, expect meaningful search engine visibility improvements typically appearing after 8–12 weeks of consistent publishing. Furthermore, the 100+ daily tasks capability means simultaneous automation of blog creation, email content, social media posts, and additional marketing tasks. Significantly, your £20 monthly investment compounds into substantial long-term ROI as traffic and revenue grow, fundamentally transforming your content marketing economics and competitive positioning within your industry.
Ready to Transform Your Business?
Join thousands of businesses already using AI agents to automate their workflows and boost productivity.